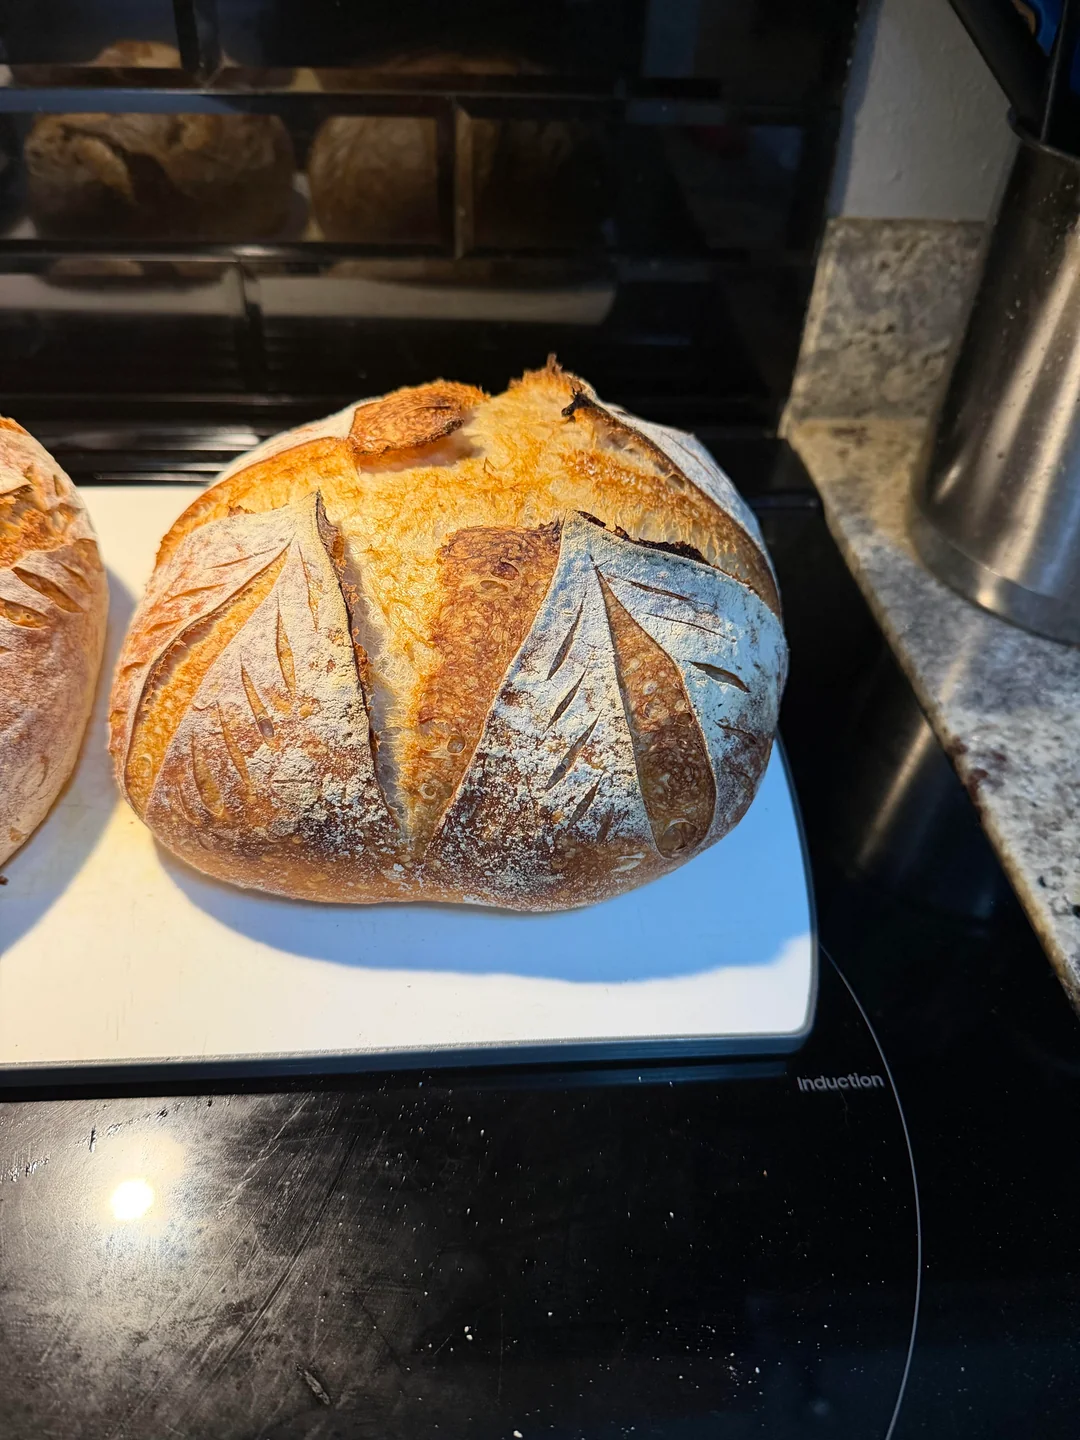
Rustic Italian Bread with a Crispy Crust and Open, Airy Crumb
Sourdough Ciabatta is one of the most beloved artisan breads thanks to its crisp golden crust, chewy texture, and large airy holes. Unlike traditional sandwich bread, ciabatta uses a high-hydration dough, which creates its signature open crumb and light texture.
This naturally fermented version combines the rich flavor of sourdough with the classic characteristics of Italian ciabatta, making it perfect for sandwiches, dipping in olive oil, serving alongside soups, or enjoying fresh from the oven.
Why You’ll Love This Recipe
- Naturally fermented with sourdough starter
- Crispy, golden crust
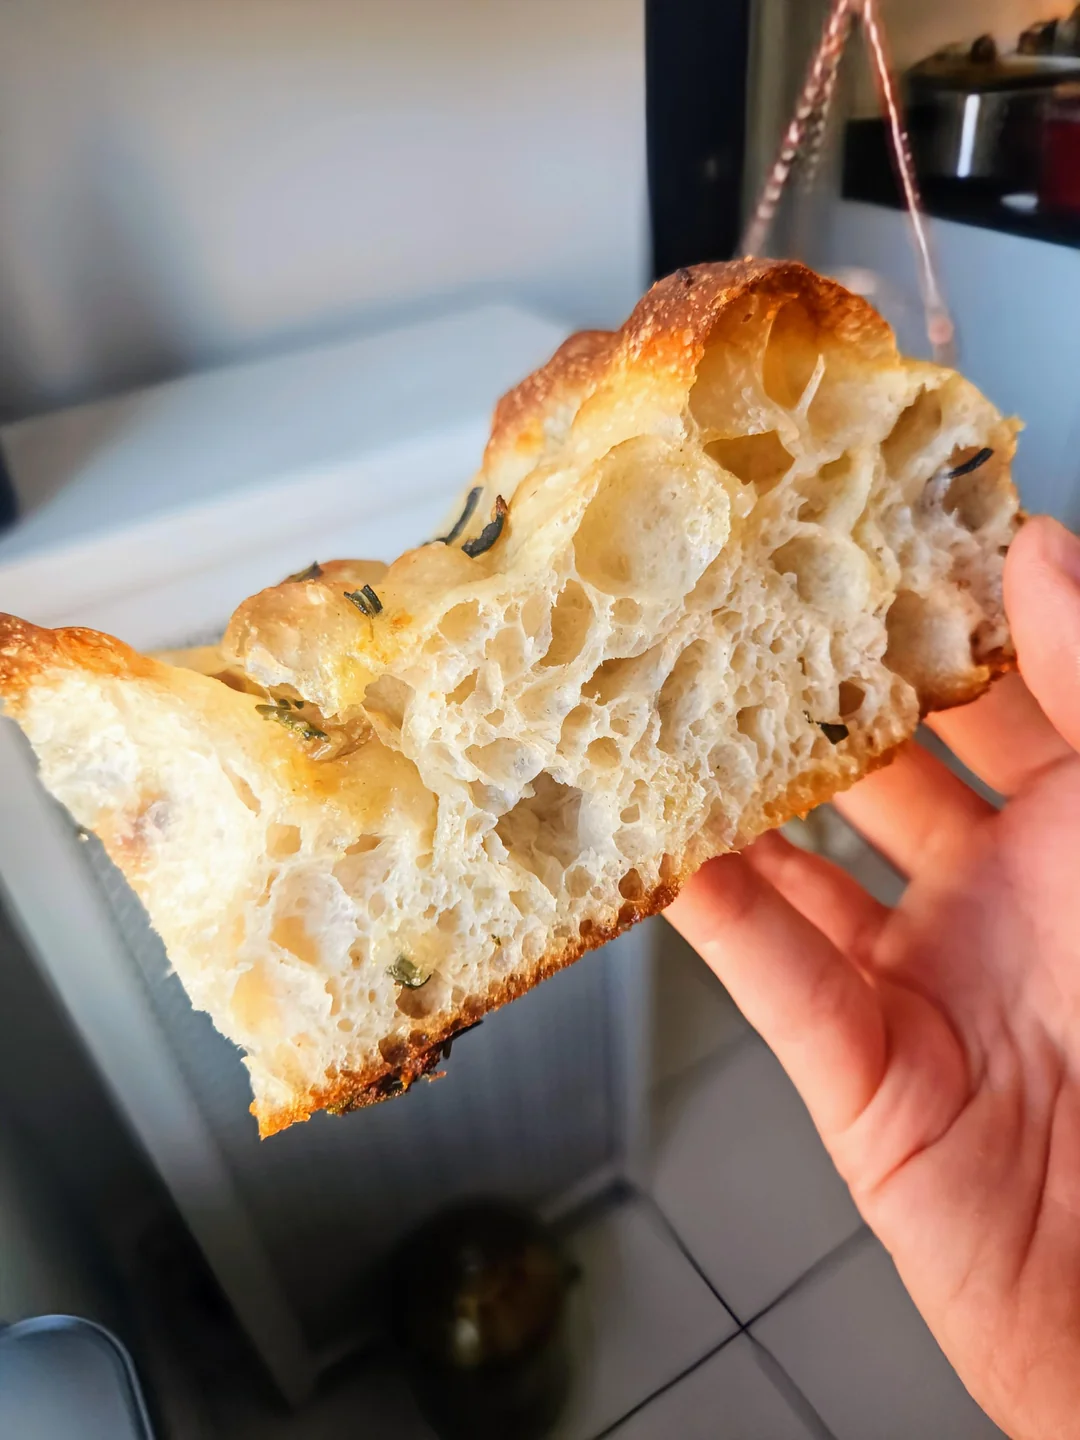
- Soft and airy interior
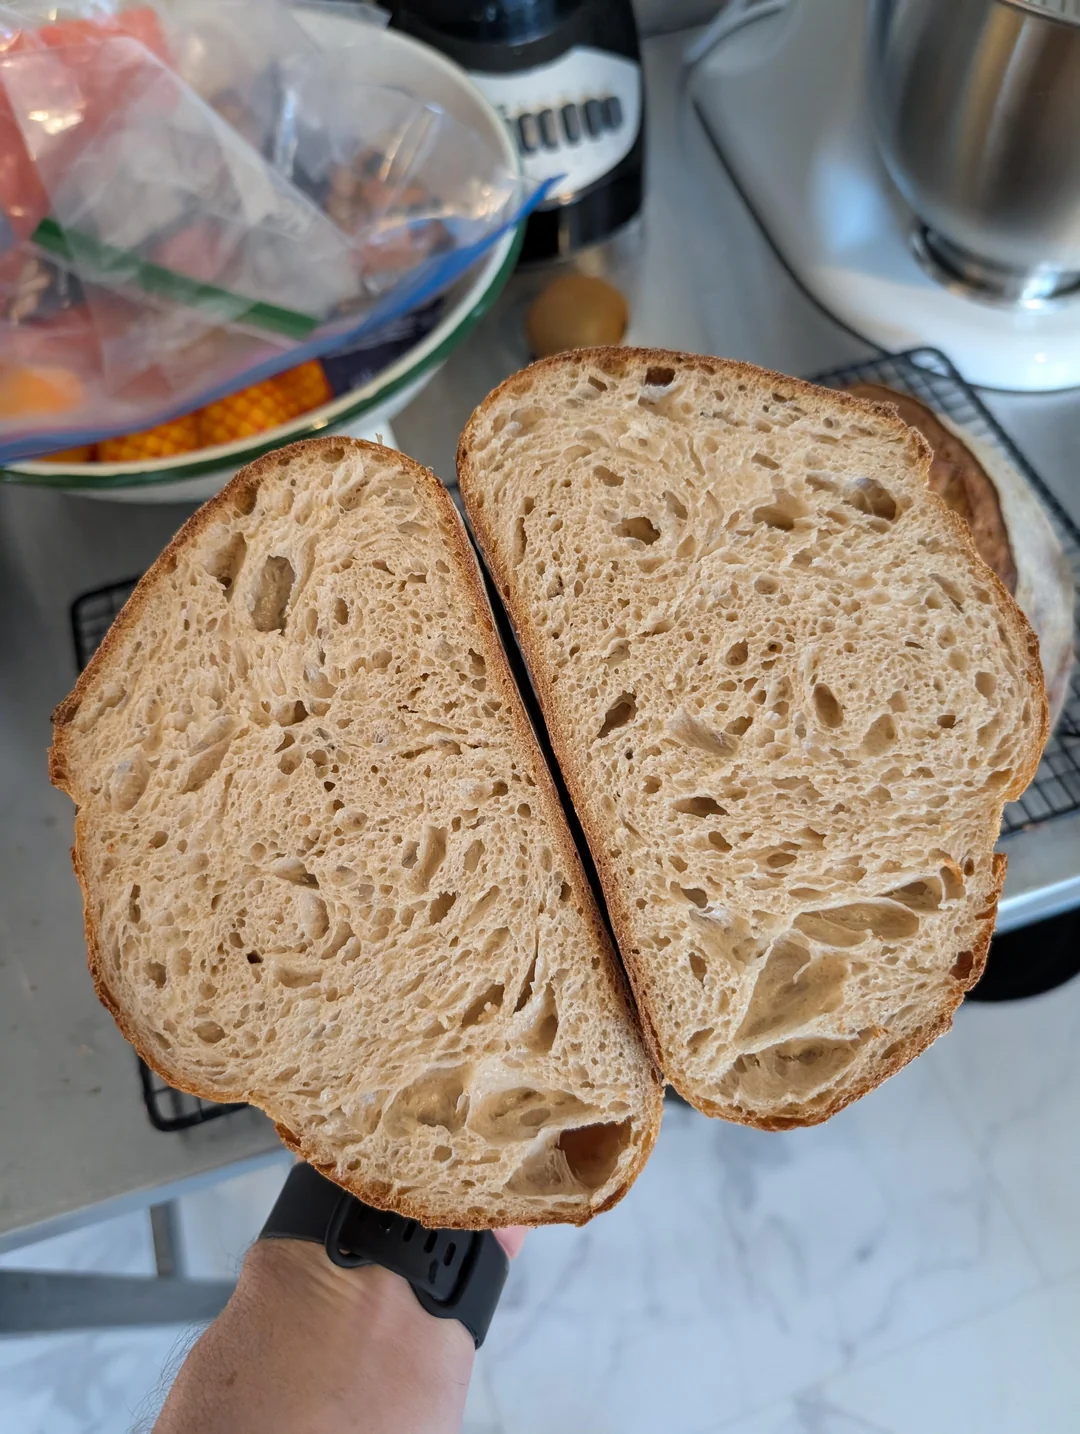
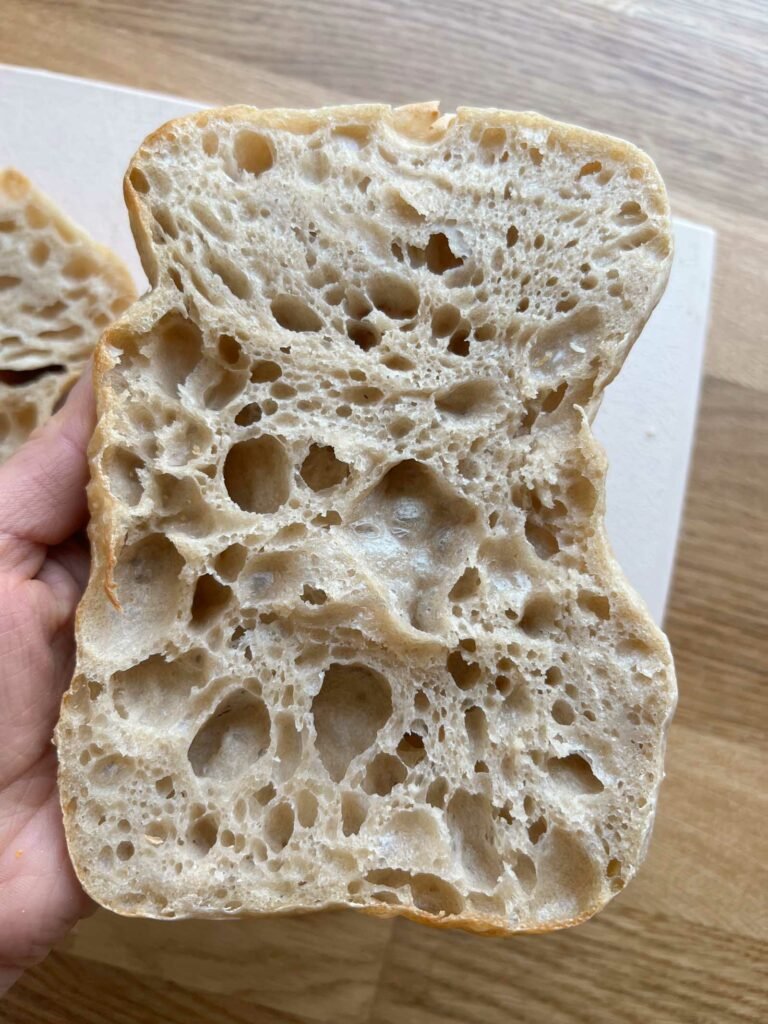
- Large open crumb structure
- Excellent for sandwiches
- Deep, complex flavor
- No commercial yeast required
Yield
- 2 medium ciabatta loaves
Total Time
- Preparation: 30 minutes
- Bulk Fermentation: 5–7 hours
- Cold Proof: 12–18 hours
- Baking: 25–30 minutes
Ingredients
Main Dough
- 500g bread flour
- 400g water (80% hydration)
- 100g active sourdough starter
- 10g salt
- 10g olive oil
Equipment Needed
- Large mixing bowl
- Dough scraper
- Kitchen scale
- Baking stone or baking steel (optional)
- Baking tray
- Parchment paper
- Spray bottle with water
Understanding Ciabatta Dough
Ciabatta dough is much wetter than traditional bread dough.
Do not be tempted to add extra flour.
The high hydration is what creates the famous open crumb and airy texture.
The dough will appear sticky and loose throughout much of the process.
Step 1: Prepare Your Starter
Feed your sourdough starter 4–8 hours before mixing.
Your starter should:
- Be bubbly
- Have doubled in volume
- Pass the float test (optional)
Using an active starter is crucial for proper fermentation.
Step 2: Mix the Dough
In a large bowl combine:
- 400g water
- 100g active sourdough starter
Mix until dissolved.
Add:
- 500g bread flour
Mix until no dry flour remains.
The dough will be rough and sticky.
Cover and let rest for 30 minutes.
This stage is called autolyse.
Step 3: Add Salt and Olive Oil
Add:
- 10g salt
- 10g olive oil
Mix thoroughly using wet hands.
The dough will initially feel slippery but will strengthen during fermentation.
Step 4: Stretch and Fold Series
Over the next 2 hours perform:
4 Sets of Stretch and Folds
Every 30 minutes:
- Wet your hands.
- Grab one side of the dough.
- Stretch upward.
- Fold over itself.
- Rotate the bowl.
- Repeat on all four sides.
After each fold, the dough becomes smoother and stronger.
Step 5: Bulk Fermentation
Cover the bowl.
Allow the dough to ferment at room temperature for approximately:
5–7 hours
The dough should:
- Increase by roughly 50–75%
- Become puffy
- Show visible bubbles
Fermentation time varies based on room temperature.
Step 6: Cold Fermentation
Transfer the dough to a lightly oiled container.
Cover tightly.
Place in the refrigerator for:
12–18 hours
This long fermentation develops flavor and improves handling.
Step 7: Prepare for Shaping
Generously flour your work surface.
Carefully turn out the dough.
Try to preserve as many air bubbles as possible.
Do not aggressively deflate the dough.
Step 8: Divide the Dough
Using a bench scraper:
Divide into:
2 equal portions
Gently shape into rectangular ciabatta loaves.
Avoid traditional tight shaping.
The goal is to preserve the internal gas structure.
Step 9: Final Proof
Place loaves on parchment paper.
Dust lightly with flour.
Cover loosely.
Allow to proof for:
45–60 minutes
The loaves should become slightly puffier.
Step 10: Preheat the Oven
Preheat oven to:
475°F (245°C)
Allow at least 30 minutes of preheating.
Place an empty metal tray on the bottom rack to create steam.
Step 11: Create Steam
Just before baking:
Pour one cup of hot water into the empty tray.
This creates steam and helps develop a crisp crust.
Step 12: Bake
Transfer loaves to the oven.
Bake at:
475°F (245°C)
For:
- 15 minutes with steam
- Remove steam tray
- Continue baking 10–15 minutes
The bread should be:
- Deep golden brown
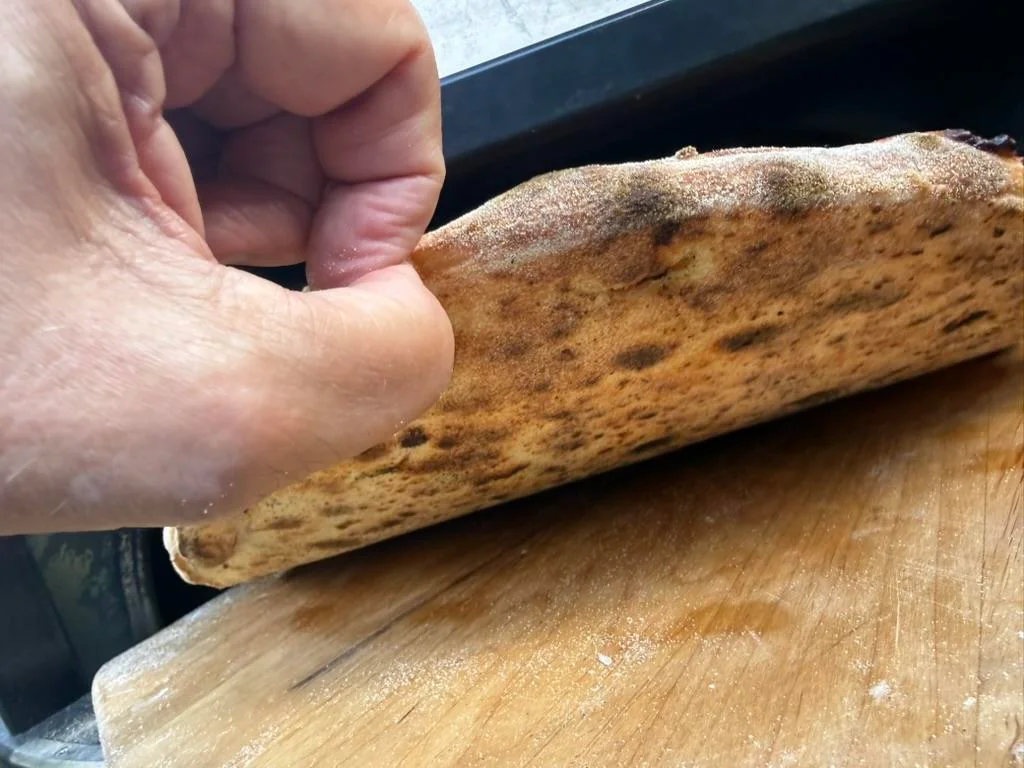
- Crisp on the outside
Internal temperature should reach approximately:
205–210°F (96–99°C)
Step 13: Cool
Transfer to a wire rack.
Allow to cool for at least:
1 hour
before slicing.
This helps the crumb fully set.
Storage
Room Temperature
Store in a bread bag or airtight container for up to 3 days.
Freezer
Freeze for up to 3 months.
Serving Ideas
Sourdough Ciabatta is perfect for:
- Sandwiches
- Paninis
- Garlic bread
- Bruschetta
- Olive oil dipping
- Soups and stews
Pro Tips for Perfect Ciabatta
Use Strong Bread Flour
Higher protein flour develops better gluten and structure.
Don’t Add Extra Flour
Sticky dough is normal.
Handle Gently
Preserve the air bubbles created during fermentation.
Use Steam
Steam creates the signature crispy crust.
Be Patient
Long fermentation equals better flavor.
Common Mistakes
Dense Bread
Usually caused by under-fermentation.
Flat Loaf
Often caused by over-proofing.
Small Air Holes
Can result from adding too much flour or rough handling.
Tough Crust
Usually caused by insufficient steam.
Nutrition (Approximate Per Slice)
- Calories: 140
- Protein: 5g
- Carbohydrates: 28g
- Fat: 1g
Final Result
This Sourdough Ciabatta Bread delivers everything artisan bread lovers want: a crackly golden crust, chewy texture, and beautiful open crumb full of airy pockets. Whether used for sandwiches, dipped in olive oil, or enjoyed warm from the oven, it’s a bakery-quality loaf you can proudly make at home. 🍞✨🇮🇹